Welcome to the Astropress monetization guide! You’ve set up your blog, you’re writing great content, and now it’s time to turn your passion into profit. One of the most powerful features of Astropress is how seamlessly it blends different monetization methods. You don’t need a handful of clunky, conflicting plugins—everything works together right out of the box.
In this guide, we’ll walk you through a professional strategy for creating a high-converting “money post.” We’ll combine single product showcases, detailed comparison tables, and strategically placed ads to maximize your earnings from every single visitor.
Your Three Monetization Tools
Before we build our article, let’s quickly review the three core tools you’ll be using. All of these are managed from your simple Astropress dashboard:
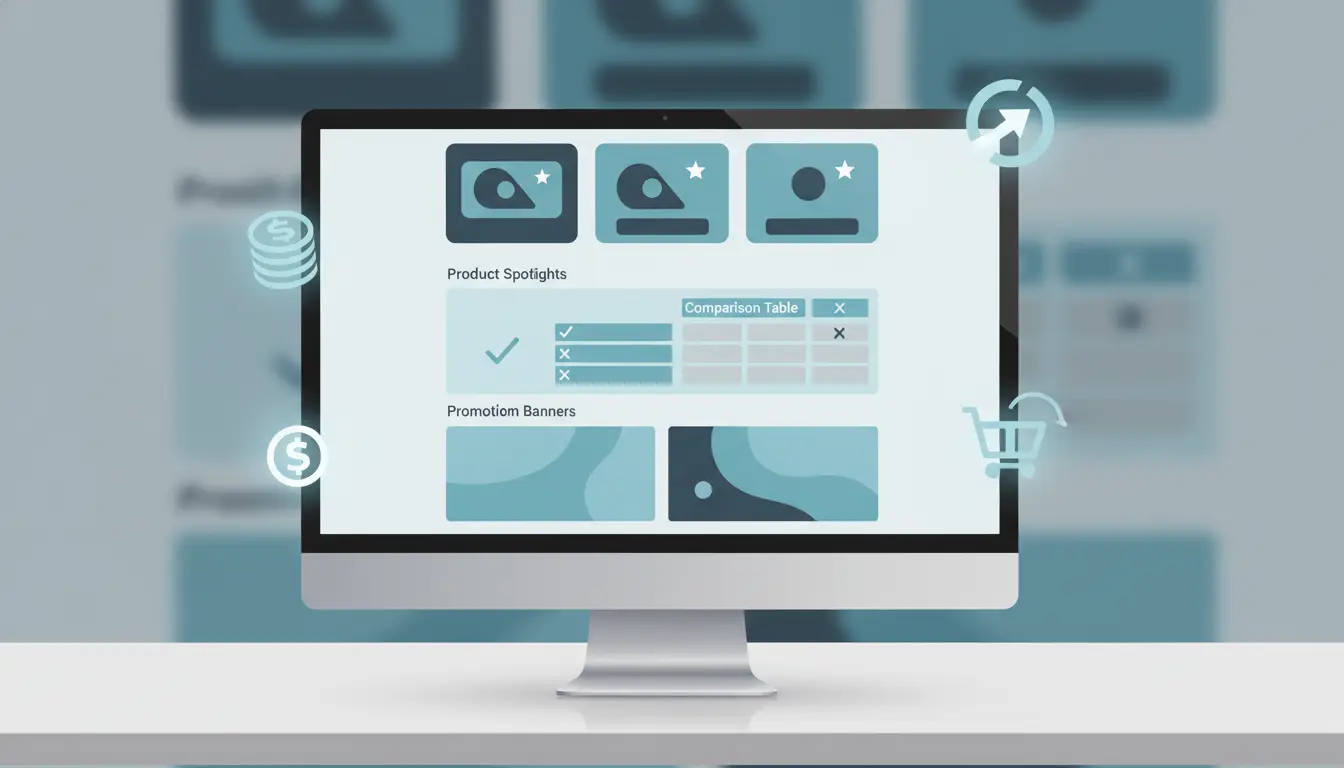
- Product Blocks: These are beautiful, pre-designed cards for showcasing a single affiliate product. You have multiple styles to choose from to keep your articles looking fresh.
- Comparison Blocks: These let you create stunning, responsive tables to compare multiple products side-by-side. This is perfect for helping your readers make a buying decision.
- The Ad System: This allows you to place banner ads in strategic locations across your site (like in the sidebar or within your article content) without ever touching code. This earns you money even if a reader doesn’t click an affiliate link.
Ready? Let’s build a masterpiece.
Step 1: The Setup (In Your Dashboard)
Before you write a single word, make sure you’ve added your affiliate products and your ads in the Astropress dashboard. For this example, let’s imagine we’re writing an article titled “The Best Coffee Grinders for Home Baristas.”
- Go to your dashboard and add a few coffee grinder products you want to promote.
- Create a “Comparison” in the dashboard called “Top Grinder Showdown” and add your top 3 products to it.
- Make sure you have an ad (perhaps for a coffee subscription box) assigned to the
article-contentandarticle-sidebarplacements in the Ad System.
Once that’s done, you’re ready to write.
Step 2: The Introduction (Hook Your Reader)
Start your article with a strong, engaging introduction. Explain the problem you’re solving—in this case, the challenge of finding the perfect coffee grinder. Don’t put any products here yet; just build trust and authority.
Step 3: Showcase Your Top Pick Immediately
Don’t make your readers wait. After the introduction, present your number one recommendation using a powerful, visually appealing Product Block. This immediately gives value to readers who are in a hurry.
To do this, simply paste the following block into your article, replacing your-top-product-id with the actual ID from your dashboard:
<ProductBlock7 id="your-top-product-id" />
This will render a beautiful, detailed showcase of your best product, complete with its image, features, and a prominent “Buy Now” button.
Step 4: Help Them Decide with a Comparison Table
Some readers want more options. This is the perfect time to introduce your Comparison Block. It builds trust by showing you’ve done the research and allows readers to compare features and prices at a glance.
Simply paste this block where you want the table to appear:
<ComparisonBlock id="top-grinder-showdown" />
Just like that, the beautiful comparison table you created in your dashboard will appear in your post. Readers can now easily see the differences and click the affiliate link for the product that best suits them.
Step 5: Let the Ad System Do Its Work
As your reader scrolls through the article, your built-in Ad System is working in the background. The banner ad you assigned to the article-content placement will automatically appear between paragraphs. The ad in the article-sidebar is always visible.
This is a crucial, passive source of income. Even if the reader decides not to buy a grinder today, a click on one of those ads still earns you money.
Step 6: Cover Your Other Bases
For readers who want even more detail, you can now write about your other recommended products. For these, you can use a simpler Product Block style to provide variety.
For example:
Here are a couple of other fantastic options...

<ProductBlock id="second-product-id" />

And for those on a budget, we recommend:

<ProductBlock id="third-product-id" />
This allows you to provide more value and more opportunities for affiliate clicks without overwhelming the reader.
Putting It All Together
By combining these elements, you create a professional, high-converting article that caters to every type of reader—from the one in a hurry to the diligent researcher. Your final article structure in the editor might look as simple as this:
(Your compelling introduction goes here...)

<ProductBlock7 id="your-top-product-id" />

(A few paragraphs explaining why it's the best...)

<ComparisonBlock id="top-grinder-showdown" />

(More text discussing other options...)

<ProductBlock id="second-product-id" />

(Your concluding thoughts...)
Behind this simple structure, Astropress is automatically inserting ads, ensuring all your affiliate links are correct, and presenting everything in a beautiful, trustworthy design.
Congratulations! You now have the blueprint for a professional monetization strategy, all using the powerful, built-in tools of Astropress.